Context
Our last
decent rainfall event was in mid-September 2013 at 36 mm; so things here on
Ochre Arch are ‘crisp’ and the long term forecast suggests little rain until
autumn or beyond.
The quality
of our bore water supply is first class, both in terms of mineralisation (or
lack of it) and lack of impurities (zero chance of hose fitting blockages). The
marginal supply cost is low at around $0.50 per kilolitre and marginal on-farm
pumping cost is next to zero provided we don’t need to draw on the back-up
diesel generator i.e. power source is from our solar and wind turbine sources.
We are not stocked to capacity and thus are not using our full daily bore water
scheme supply allocation.
It’s been a
while since we kicked off a new on-farm experiment. They are one of the best
ways to learn.
Experiment Description
We've installed a high flow water sprinkler well out from fence-lines in the Airstrip
Paddock and will observe vegetation change over time from the soil (under the
range of the sprinkler) being kept constantly damp from regular evening
watering events using our surplus water scheme supply.
Current Soil
Surface Condition
The photo
below shows the soil surface condition at the site.
Equipment
We recently purchased
the following parts and assembled a water sprinkler (parts listed from the ‘top
down’ in terms of the final assembly):
- 20 mm brass
two-nozzle impact sprinkler. This was the highest capacity sprinkler the
supplier had on hand. We wanted to be able to apply the maximum water over the
greatest area in the shortest period of time.
- 3/4 inch BSP
threaded plastic socket
- 900 mm 3/4
inch BSP threaded pipe riser. The riser needed to be at least this high to keep
it clear of the sheep.
- 3/4 inch BSP
threaded elbow
- 3/4 inch to
18 mm Neta brass fitting. Our hoses are 18 mm rather than the 12 mm standard,
allowing for higher volume flows.
Here's a photo of the brass nozzle on the top of the riser.
Estimating
Water Flow Rate
When the
assembly was complete we attached it to a hose near the house connected to the
bore water supply hydrant. The spray nozzle was placed in an empty 20 litre
bucket and the hose turned on full pressure. We timed to see how long it took
to fill the bucket with water. The pressure was such that initially water
flowed out of the bucket. After things settled we calculated bucket fill time
at 25 seconds giving a flow rate of 0.8 litres per second.
Our initial
thinking was that we’d run the sprinkler in the paddock long enough to disperse
1,000 litres. Based on the above figures this would take a tad over 20 minutes.
Installing
the Sprinkler
We chose to
set the sprinkler up in the Airstrip Paddock with water sourced from the
hydrant on the fence between the holding yard for both our sheep and cattle
yards and the Airstrip Paddock. Site location factors included being within
close proximity to the house (we can see the site from under the covered area
to the east of the house), on pasture that has been reasonably heavily grazed
and in a paddock that we set stock with both pet sheep and our rams. Whatever
grows will be a good source of protein for these livestock through to the end
of summer.
Using one of
our 18 mm hoses as the connector and distance setter we selected a spot
equidistant from two fence-lines such that it would not be possible for the
water to land on fence-lines i.e. all growth will be within the Airstrip
Paddock. In the interest of simplicity a shortened star post was hit into the
ground at the desired location and the new assembly attached.
Here's a photo of the riser in place, with the nozzle on top.
Stock
Exclusion Area
Using two
panels of weldmesh we constructed and put in place under the estimated drip
line a circular fenced area. The diameter is approximately 3.6 metres giving an
area of approximately 10.2 square metres. Having this in place will allow us to
observe vegetation growth without the sheep having access, although other
herbivores such as kangaroos and rabbits may gain access.
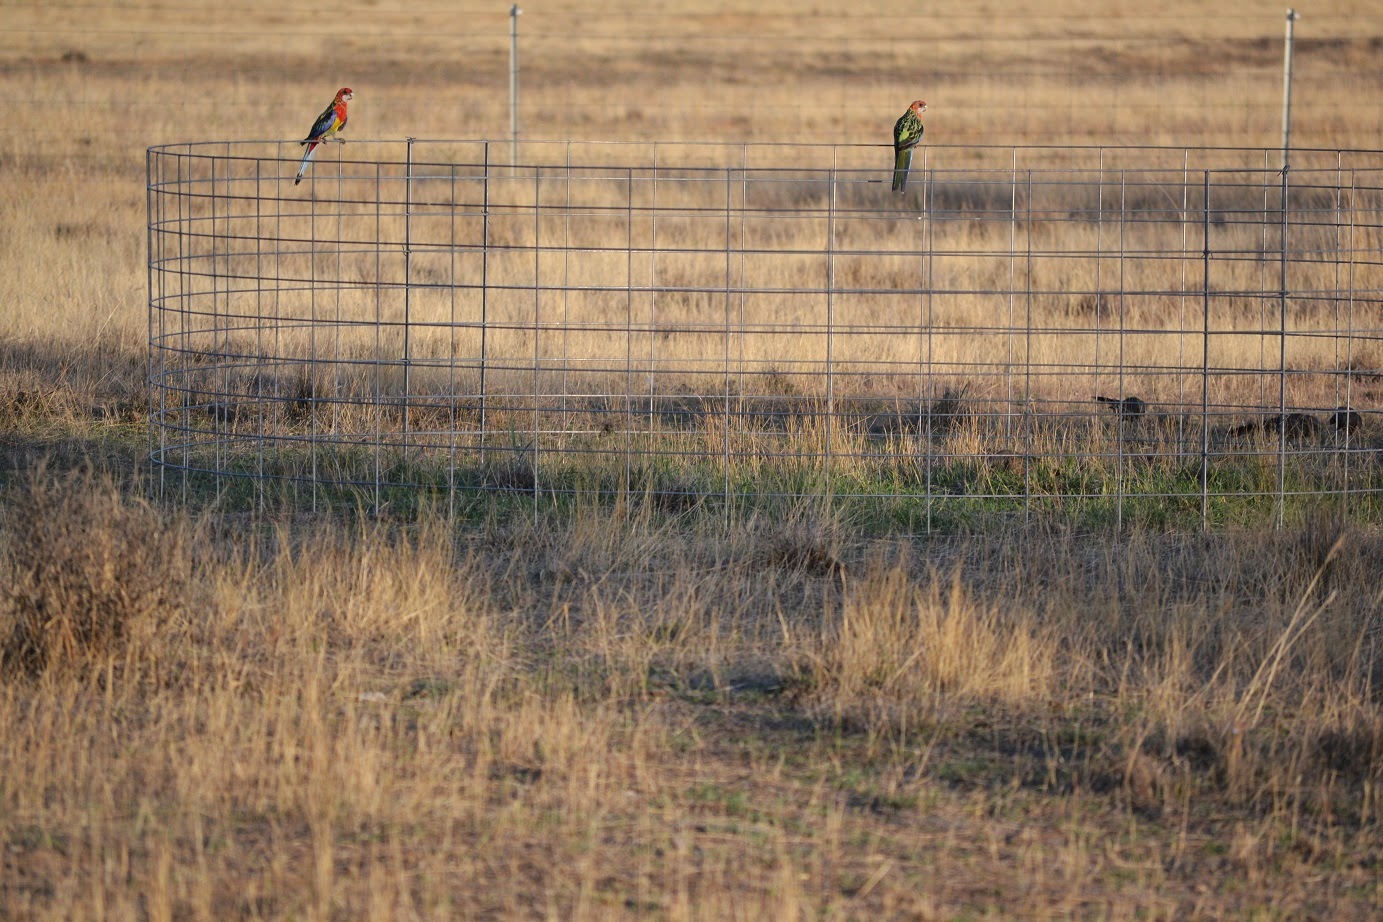
The photo below shows the stock exclusion area with the sprinkler 'doing its thing'.
First
watering
At a tad
after 7.30 pm on Saturday 4 January 2014 we turned the water supply to the
sprinkler on. There was a brisk breeze blowing which meant that the water spray
up wind was not nearly as far as it was downwind. The sprinkler worked
extremely well.
After 20
minutes when in theory about 1,000 litres of water had been dispersed the top
of the soil under the sprinkler was damp but our impression was that it would
not be sufficient to get much growth happening. Consequently we decided to run
the sprinkler for a full hour, making 3,000 litres dispersed. The soil surface
was very damp (but no mud).
Watering
close to sunset should mean we reduce the evaporation from the site, or
certainly in comparison to what might occur if we did the watering during the
middle of the day.
Area Watered
Once the
watering was complete we were then able to calculate the total area watered. We
simply walked across the wet area from drip-line to drip line twice at
perpendicular angles. From this we estimated that the diameter of the wet area
was 22 metres or slightly more than the length of a standard cricket pitch.
Using a web-based calculator (http://www.calculateme.com/cArea/AreaOfCircle.htm)
the approximate area watered was 380 square metres or 3.8 % of a hectare.
Water
Applied per Square Metre
3,000 litres
of water spread evenly over 380 square metres equates to roughly 8 mm water
falling per square metre (sought-of comparable to 8 mm rainfall). Using the
generally accepted guide that every mm rainfall produces 10 mm soil profile
moisture this means that roughly 8 cm of soil profile moisture would have been
created. Most of the ‘action’ in the soil happens in the top 4 inches or 100
mm, so we are pretty happy with our first watering. Using the foregoing it
means that we will be applying roughly 1 mm water over the area each 7.5
minutes.
Second
Watering
On 5th
January 2014 we again watered the area for one hour. Our intent is to repeat
this at around the same time each day for at least 2 weeks regardless of any
natural rainfall.
Moisture
Profile Check
At 4.00 pm
on Monday 6th January 2014 we dug into the soil within the drip line
to see what the moisture penetration was so far. The top 100 mm was damp, and
dry below this depth. Daily watering for one hour should be sufficient to
stimulate plant growth. One point to note: the temperature on 4th
through 6th January 2014 has not been extreme but the wind has been
strong.
Cost of the
Experiment
The total cost
of the materials used in the experiment is around $100. Daily water cost will
be about $1.50.
Reporting
Outcomes
We will make
periodic posts showing any material change on the site.